
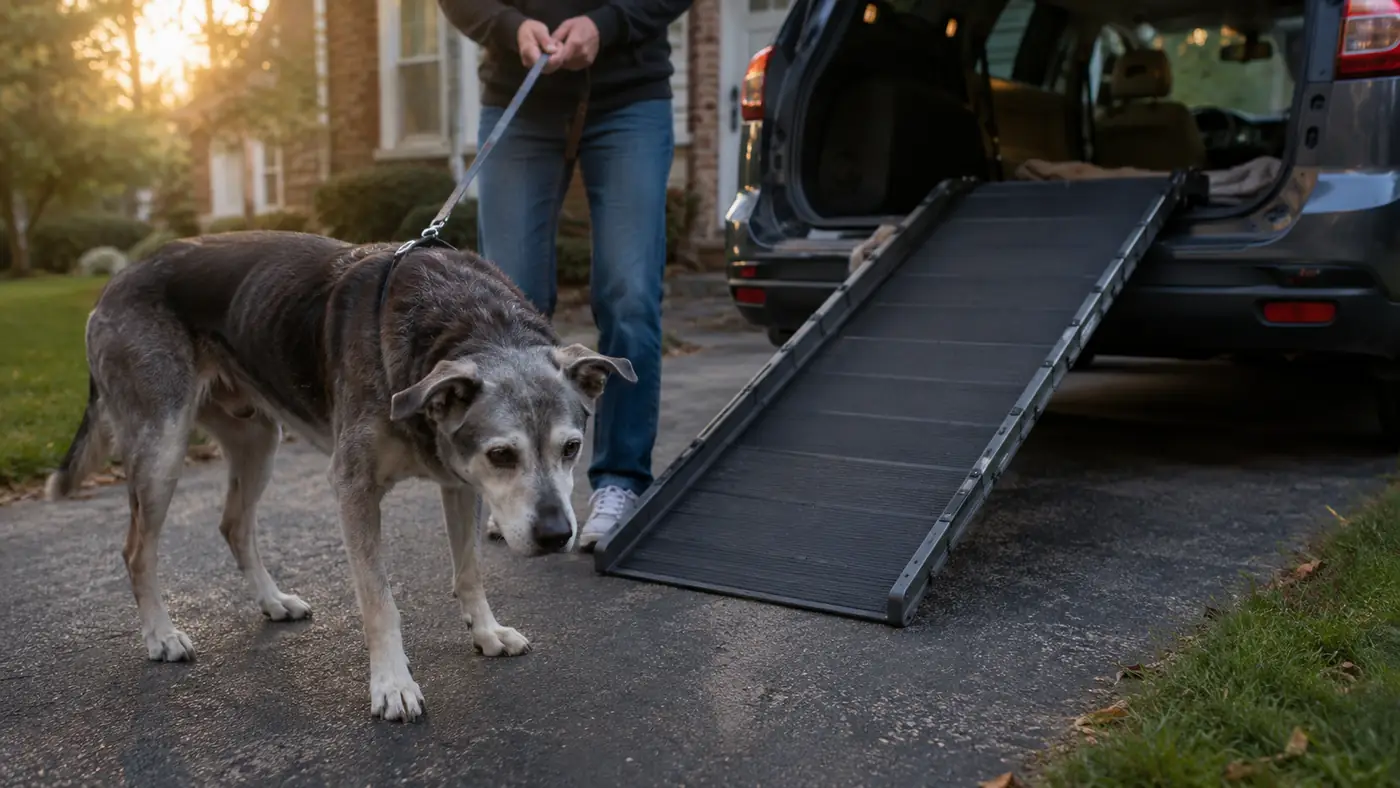
The first time I tried to get my foster dog Gus into my Explorer, it went about as well as you'd expect. He was an 11-year-old lab mix with hips that had clearly seen better decades, and the second his front paws left the ground, he froze, backed up, and sat down on the driveway like the conversation was over. I didn't blame him. Asking a stiff, achy 70-pound dog to launch himself three feet into the air is a lot to ask, which is exactly why I finally broke down and bought a PetSafe Happy Ride ramp for my own car.
That's the whole reason a car ramp exists, but owning one and actually getting your dog to use it are two very different things. I've fostered more than a dozen senior and mobility-limited dogs out of my house in Ohio over the past 15 years, and I've watched the same mistake happen over and over: someone buys a ramp, unfolds it once, expects the dog to just walk up it, and when the dog balks, they decide the ramp doesn't work. It's not the ramp. It's the missing steps in between. I ended up training Gus (and every foster since) on a PetSafe Happy Ride ramp I keep folded flat in my garage, and once I built the training into five short, boring, repeatable steps, every single dog I've worked with eventually walked it on their own. Here's exactly how.
Skip the trial and error. This is the ramp I actually train dogs on.
The PetSafe Happy Ride folds down to fit in a trunk, extends to 62 inches so the angle stays gentle even into a taller SUV, and has a textured surface that gives arthritic paws something to grip. It's the one I reach for with every foster who's stopped jumping.
Amazon Check Today's Price on Amazon →Step 1: Let the Ramp Sit Out for a Few Days Before You Ask for Anything
Most ramps get pulled out of the box and leaned straight against the bumper, and the dog's first experience with this strange new object is being expected to walk on it immediately. Skip that. Unfold the ramp flat on the ground in your living room or driveway, somewhere your dog already walks past a dozen times a day, and just leave it there. No commands, no leash, no pressure. Let it become furniture.
This sounds too simple to matter, but it's the step almost everyone skips, and it's the one that determines whether the rest of the training goes smoothly. Dogs, especially older ones who've gotten more cautious with age, are naturally wary of anything new that moves or makes noise underfoot. A folding ramp shifts slightly when you step on it, and it makes a soft metallic sound as the hinges settle. Giving your dog three or four days to sniff it, walk around it, and realize it's not going to hurt them removes almost all of the initial hesitation before training even starts.
With Gus, I left the ramp flat in the hallway for a full week because he was particularly spooked by anything new after being surrendered. By day three he was walking over it without a second thought on his way to the water bowl. That's the goal of this step. You're not training a skill yet. You're just removing fear of the object.
Step 2: Set the Angle as Low as You Can and Anchor It
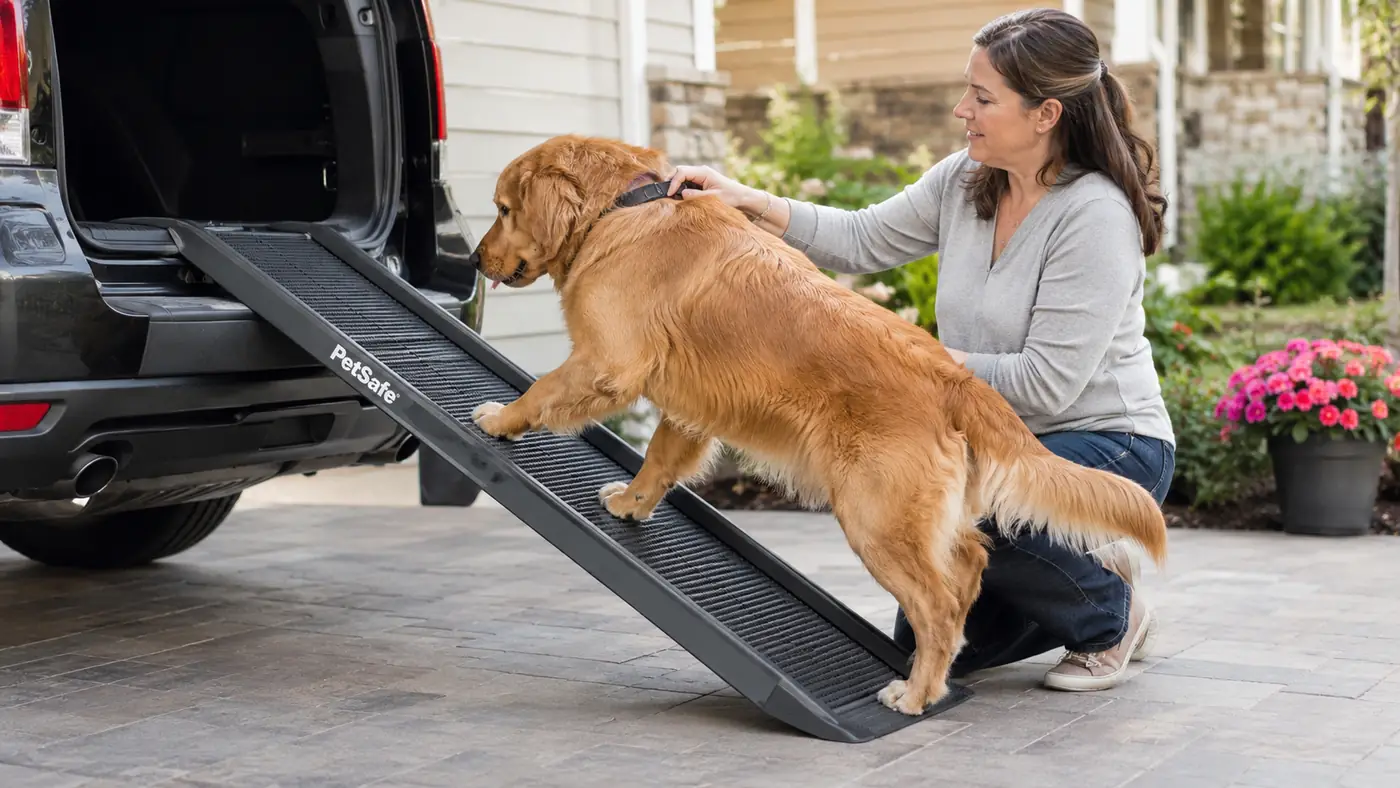
Once your dog is comfortable walking on the flat ramp, prop it against the car, but start with the lowest angle you can manage. If your vehicle allows it, back the car up to a slight incline in the driveway, or start with a lower opening like a hatchback trunk instead of a tall SUV rear seat. A steep angle asks for more confidence and more hind-leg strength than a dog with sore hips has to give on day one.
This is also where you want to check that the ramp is actually secure. The Happy Ride has flip-out feet and a lip that hooks over the bumper edge, and I always press down hard on the near end with my full body weight before I let a dog anywhere near it. A ramp that wobbles even slightly under the first paw will undo two weeks of training in one bad step, because dogs don't forgive an unstable surface easily. I've seen a single wobble turn a confident walker back into a dog who refuses to approach the car at all.
If your driveway isn't level, test the ramp's stability yourself before your dog ever gets near it. Rock it side to side, step on the low end, step on the high end. It should not move. Only once it's rock solid do you move to the next step.
Width and weight capacity matter more than people expect, too. A ramp built for a 15-pound terrier is not going to feel stable under a 70-pound lab mix, and a dog that already doubts its own balance will notice a ramp that flexes under its weight. The Happy Ride is rated for larger breeds and wide enough that a dog can walk it without feeling like it has to balance on a beam, which is part of why it held up through more than a dozen different fosters at my house without ever needing to be replaced.
Step 3: Reward the First Two Paws, Not the Whole Walk
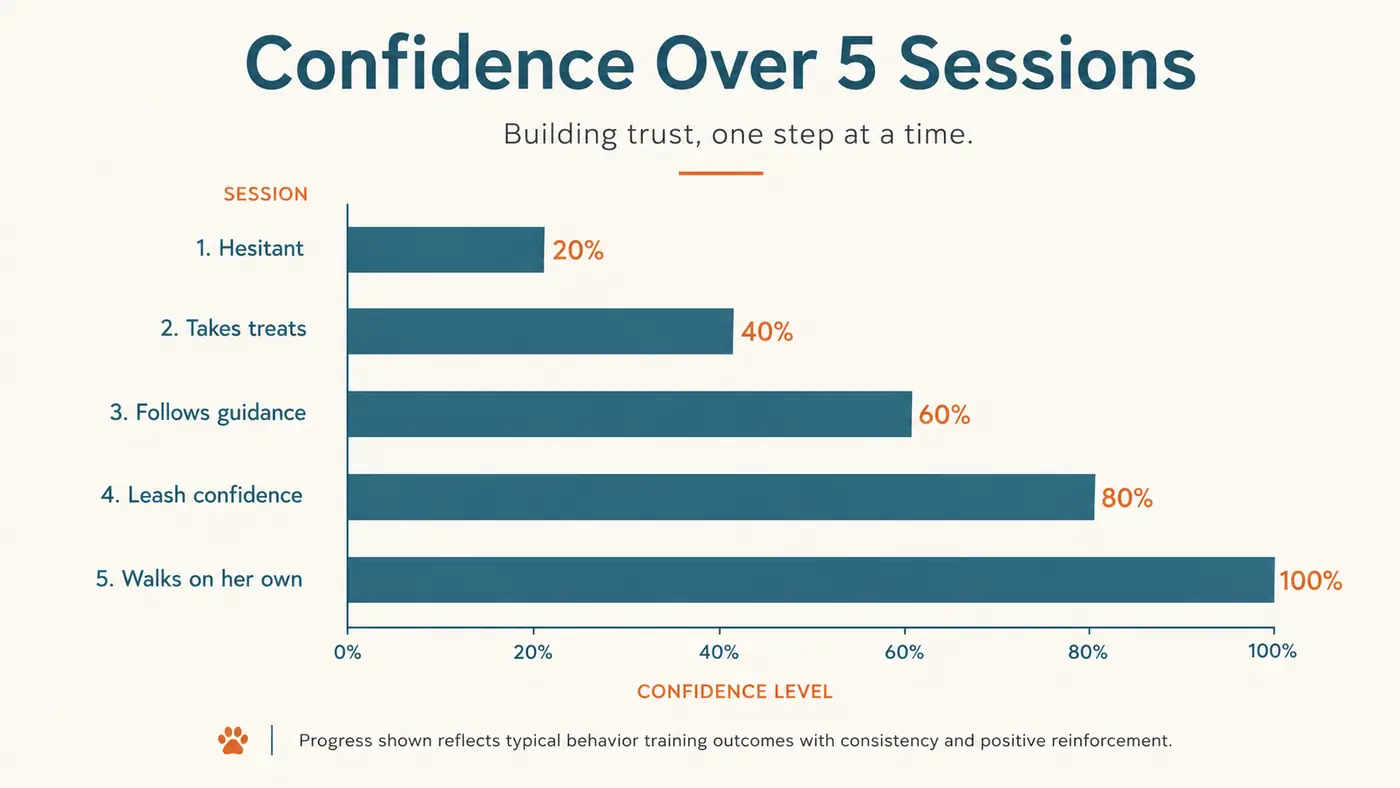
This is where most people rush and lose the dog. They clip the leash on, walk to the top of the ramp, and try to lure the dog all the way up in one motion. Instead, stand at the bottom with your dog on a loose leash, and reward the moment even one front paw touches the ramp surface. Use small, high-value treats, string cheese, boiled chicken, whatever your dog goes out of their mind for, and mark that single paw placement like it's the whole achievement, because right now it is.
Do this for five or six short sessions before you ever ask for more. Two front paws on the ramp, treat, done. Walk away, come back an hour later, try again. I know it feels agonizingly slow when you have somewhere to actually be, but this is the step that builds the muscle memory and the confidence that carries the dog through the rest of the walk later. Rushing it is the single most common reason a ramp ends up unused in the garage after two weeks.
With one particularly nervous foster, a senior beagle named Pearl, I spent four full days just on this step. Front paws on, treat, walk away. By day five she was offering to put her paws on the ramp before I even asked, because she'd decided on her own that it led to good things.
Step 4: Walk the Full Ramp Both Directions, Slowly
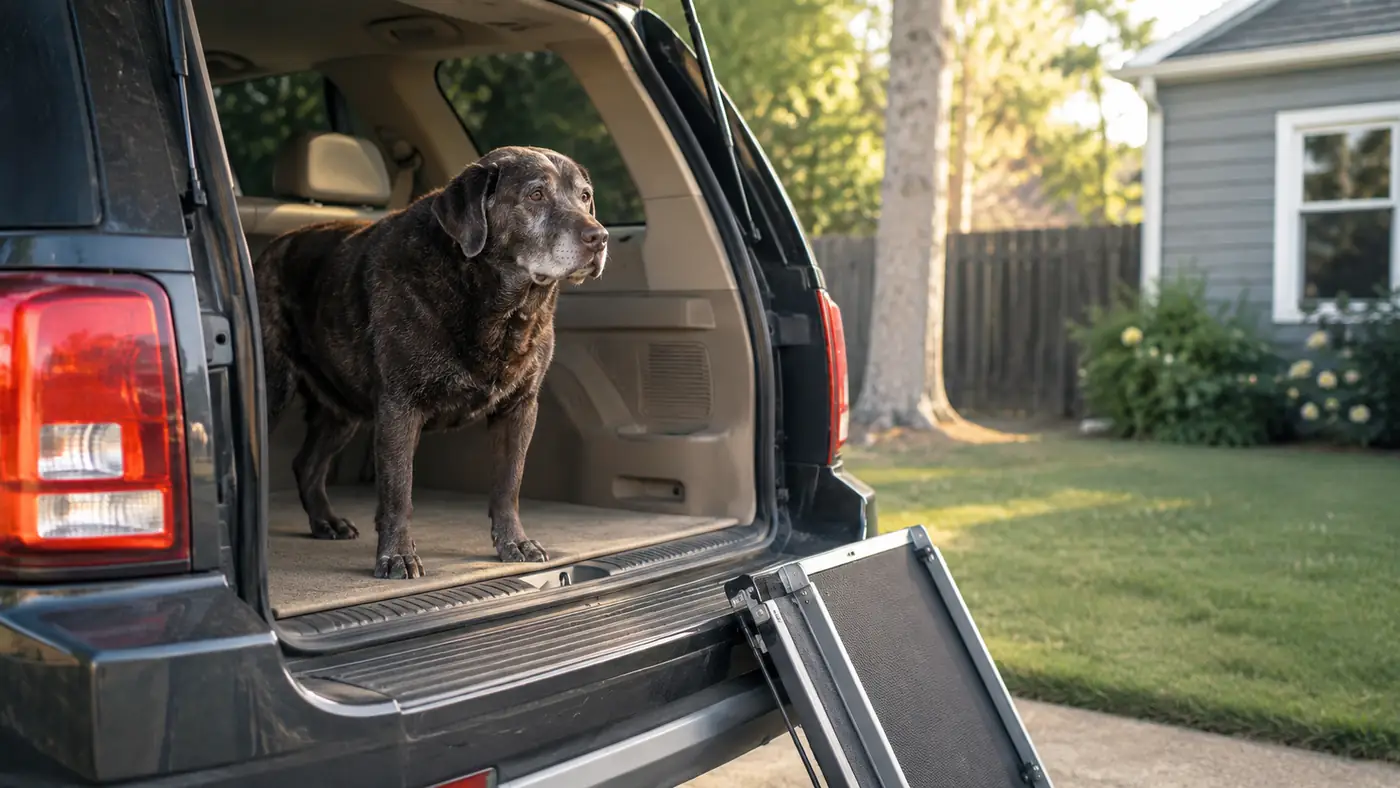
Once your dog is confidently placing their front paws on the ramp without hesitation, it's time to ask for a full walk up. Stand at the top this time, not the bottom, and use a treat trail rather than a single treat at the end. Drop small pieces every foot or so along the ramp so your dog is rewarded for continuing to move rather than lunging up and stopping halfway.
Walk slowly beside them if the ramp width allows it, or stay at the top with a loose leash if it doesn't. Do not pull the leash to hurry them along. A dog with joint pain needs to place each paw deliberately, and tugging them forward teaches them the ramp is something to be dragged through rather than walked calmly. Let them set the pace, even if that pace is one paw every three seconds the first time.
Just as important, practice walking down the ramp, not just up. A lot of dogs will happily load into the car and then panic when it's time to get back out, because nobody ever practiced the descent. Do five or six short up-and-down reps in a single session, always ending on a successful walk so the last thing your dog remembers is a win.
Not every dog is food motivated once they're nervous, and that's fine. If treats aren't landing, try a favorite squeaky toy held just out of reach at the top of the ramp, or simply your own calm, happy voice and a scratch behind the ears the moment they take a step. The reward matters less than the timing. Mark the exact instant a paw moves forward, not five seconds later when they've already stopped to think about it.
Step 5: Fold Real Trips Into the Routine, Not Just Practice
The final step is making the ramp part of ordinary life instead of a special training exercise. Use it for a short trip to somewhere your dog genuinely wants to go, the dog park, a friend's yard, even just riding along to the drive-through pharmacy. The goal is for your dog to connect the ramp with good outcomes beyond the treats you've been handing out, so keep the first several real trips low-stakes and pleasant.
Set the ramp out and open the trunk a few minutes before you actually need to leave, so there's no rush and no sense that this is a high-pressure moment. Dogs read our stress instantly, and a rushed, frustrated owner standing over a wobbling ramp is a recipe for backsliding, even after weeks of solid training.
Gus rides the Happy Ride ramp into my Explorer every single week now, tail wagging the second he sees it come out of the garage. It took about two weeks of short daily sessions to get there, not one dramatic breakthrough, just five boring steps repeated until they weren't scary anymore.
What Else Helps
A few small things made a bigger difference than I expected. Non-slip socks or a quick nail trim before you start training gives dogs with mobility issues more confidence in their footing, since slipping even once on a hard floor can make them wary of any textured surface for weeks. I also keep the ramp in the exact same spot in the garage every time, because dogs notice routine and predictability more than we give them credit for. And if your dog is overweight on top of being arthritic, talk to your vet about a modest diet adjustment first. Less weight on those joints makes the whole ramp walk, and honestly every part of their day, noticeably easier.
Weather changes things more than most people plan for. A ramp that felt perfectly grippy in the summer can turn slick the moment morning dew or a light frost hits it, and that's exactly when an older dog is most likely to slip and lose all the confidence you spent two weeks building. Wipe the surface dry before every use in cooler months, and if you live somewhere with real winters, consider keeping the ramp in the garage between uses instead of leaving it outside where it can collect ice. It's a small habit, but it's the difference between a ramp that stays part of the routine and one that gets blamed for a slip that was really just bad footing.
It's not the ramp. It's the missing steps in between.
Ready to stop lifting a 70-pound dog into your trunk?
The PetSafe Happy Ride is the ramp I've trained more than a dozen senior and mobility-limited fosters on. It folds flat for storage, holds up to larger breeds, and gives paws real traction on the way up. If your dog is done jumping, this is where I'd start.
Amazon Check Today's Price on Amazon →